To start the JAVA component of the Virtual Maze Generator, simply double-click on the "Maze.jar" executable file. (See "Chapter 1: Installation".)
This dialog box appears:

In the "Maze Height" and "Maze Width" fields, specify the size of the maze that you want to generate. For example, if you enter "3" for the maze's height and "5" for the maze's width, the program will begin with the following grid (before it starts to knock down walls):
minimum Maze Height: 2
maximum Maze Height: 25
minimum Maze Width: 2
maximum Maze Width: 25
When you are ready to create the maze, click on the "Generate Maze" button.
The "Save" menu only has one item:
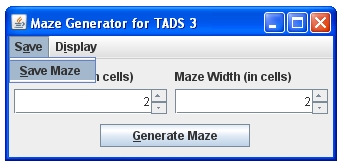
After you've generated a maze, save it to a file. You can specify any filename.
The file will contain a TADS 3 "Vector" statement, which includes information about each cell in the maze. Here's an example:
|
mazeGrid = new Vector(100,[[9,5,5,5,1,3,13,1,5,7], [10,13,3,9,6,12,3,12,1,3], [12,3,10,12,3,11,12,3,14,10], [11,12,4,3,10,8,3,12,3,10], [12,5,5,6,10,10,12,3,12,2], [9,5,5,5,6,10,11,8,7,10], [10,9,5,5,5,4,6,8,3,10], [10,12,5,5,3,9,7,14,10,10], [10,13,5,5,6,12,3,9,6,10], [12,5,5,5,5,5,6,12,5,6]]) |
As the next chapter ("Chapter 3: Initializing the TADS 3 Component") explains, you will use the "Vector" statement to initialize the TADS 3 component of the Virtual Maze Generator.
The "Display" menu only has one item:
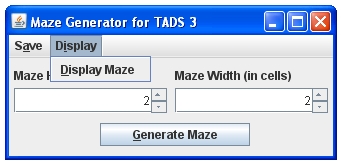
After you have generated a maze, you may want to view it.